DIY Morse Code Bracelet Tutorial for Personalized Gifts
Crafting a personalized Morse code bracelet is an endearing and thoughtful gift idea, offering a unique touch to express your sentiments creatively. While originating from a communication system, Morse code's modern adaptation into jewellery has opened doors for crafting custom bracelets spelling out names, phrases, or special words.
In this tutorial, we'll guide you step-by-step on how to make your very own Morse code bracelet, enabling you to customize it according to your preferences.
Materials Needed
Creating a Morse code bracelet requires minimal supplies, providing flexibility in design and colour choices. Here's what you'll need:
- Cord: Nylon cord or silk cord
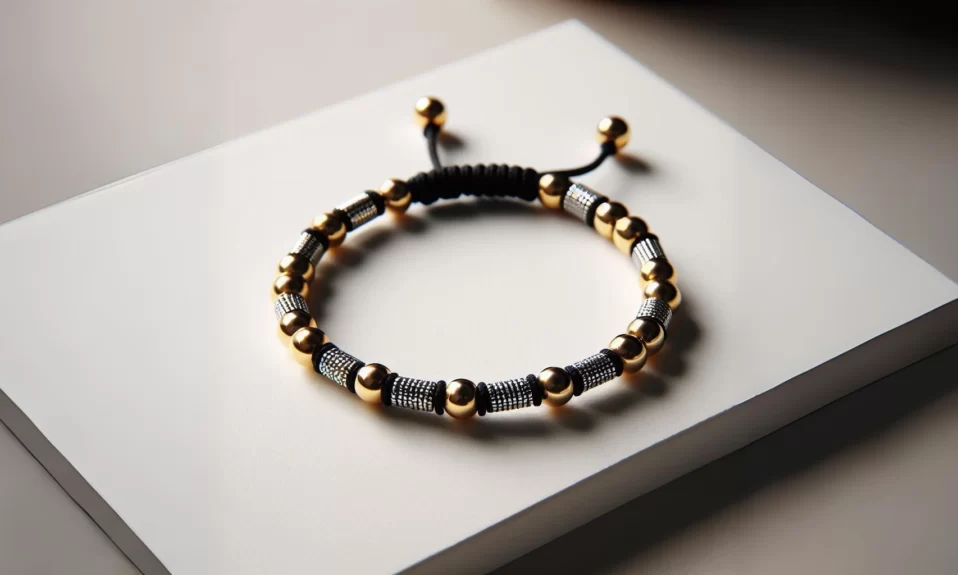
- Beads: Round beads (approximately 4mm) and longer beads (approximately 6mm)
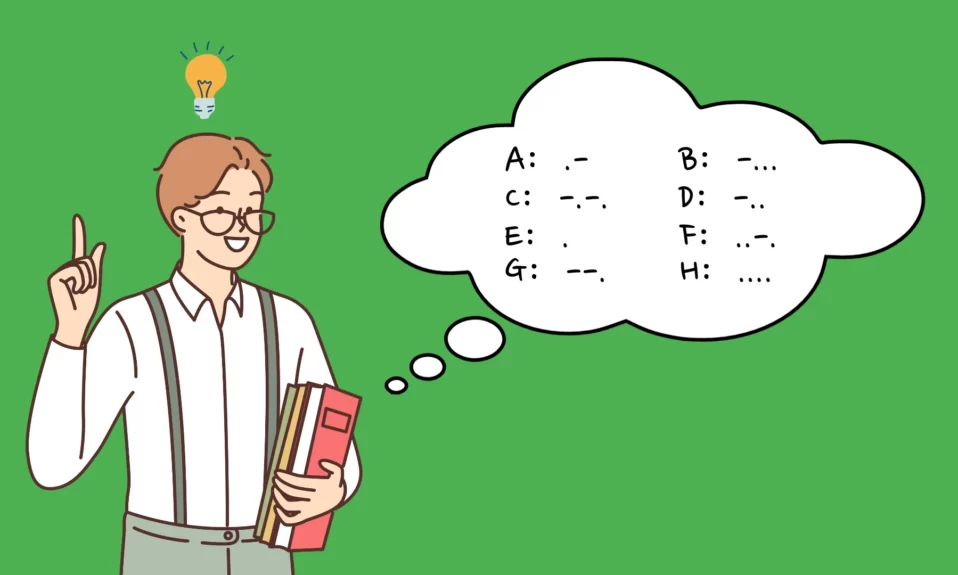
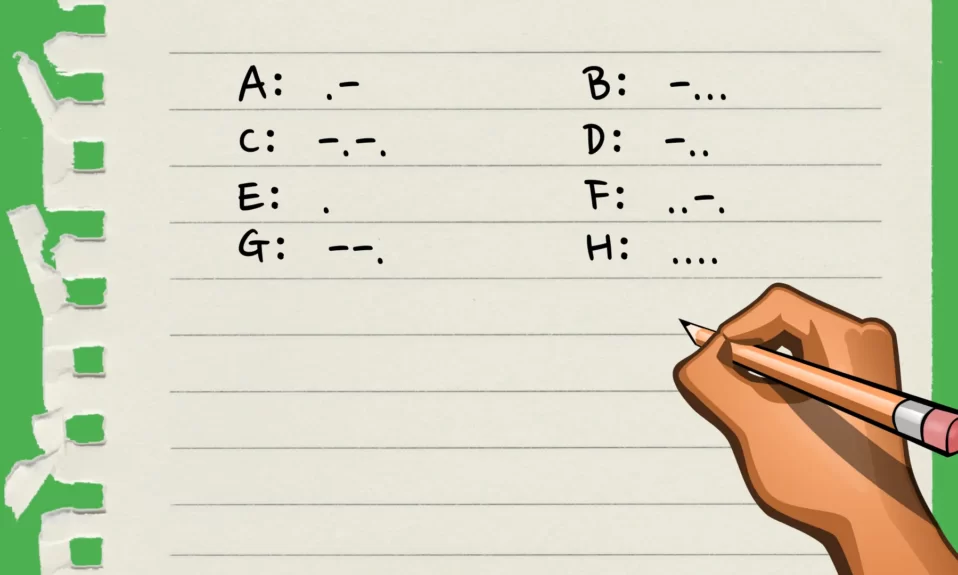
- Chart: Morse code reference for translating messages or you can also take help of a morse code translator tool
Make A DIY Morse Code Bracelet: Step-by-Step Guide
1. Planning and Preparing
Begin by selecting the word, initials, or message you wish to encode into Morse code. Use a Morse code chart to map out the sequence of dots and dashes representing each letter.
2. Cutting the Cord
Cut a length of cord, ensuring it's longer than you estimate needing. This step is crucial as having excess cord is better than falling short.
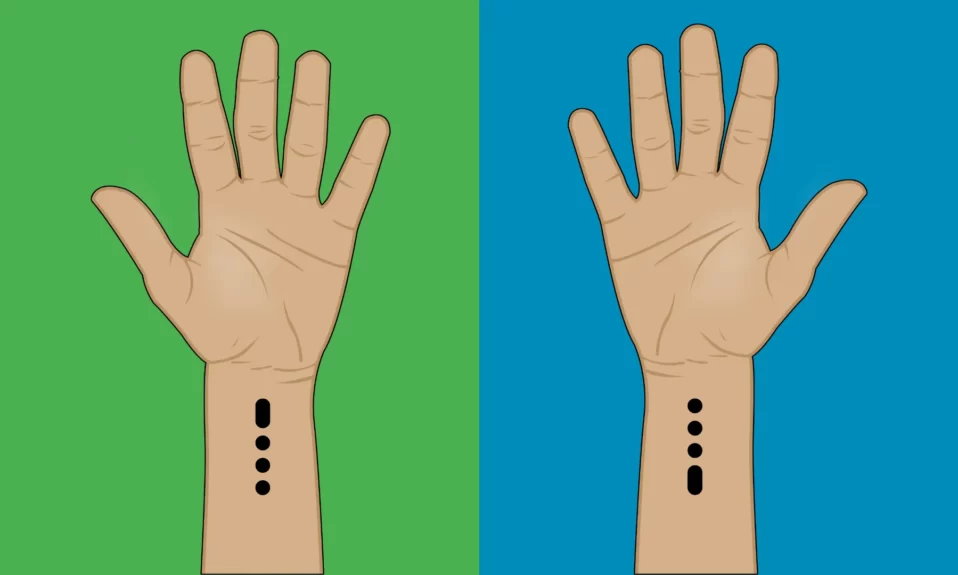
3. Bead Stringing
- Tie a knot in the middle of the cord to prevent beads from sliding off.
- Start stringing the beads onto the cord, working backward from the last letter of your message to the first.
- Reference the Morse code chart to correctly place each bead, ensuring accurate representation of the chosen word or initials.
- Continue until the entire message is encoded in beads along the cord.
4. Finishing Touches
Once all beads are in place, tie another knot at the end of the cord to secure them in position. You can opt to close the bracelet using various methods like a lobster clip, barrel clasps, or by tying the ends together.
Morse Code Bracelet Inspiration
The beauty of crafting a Morse code bracelet lies in its versatility and ability to convey a myriad of sentiments. Beyond names and initials, here are some inspirational code ideas you might consider:
| bracelet Ideas | Morse CODE |
|---|---|
| Love | .-.. --- ...- . |
| Live | .-.. .. ...- . |
| Dream | -.. .-. . .- -- |
| Joy | .--- --- -.-- |
| Hope | .... --- .--. . |
| Luck | .-.. ..- -.-. -.- |
| Strength | ... - .-. . -. --. - .... |
| Courage | -.-. --- ..- .-. .- --. . |
| Mother | -- --- - .... . .-. |
| Sister | ... .. ... - . .-. |
| Niece | -. .. . -.-. . |
| Bestie | -... . ... - .. . |
| BFF | -... ..-. ..-. |
Conclusion
Crafting a DIY Morse code bracelet embodies simplicity intertwined with profound sentiment, rendering it an exquisite gift choice. This creative endeavour not only exudes personalization but also encapsulates heartfelt expressions uniquely. Embrace the beauty of this craft, elevating the art of gift-giving with a touch of meaningful simplicity.
Frequently Asked Questions
Q: What kind of cord is best for making a Morse code bracelet?
A: Nylon cord or silk cord work well for crafting Morse code bracelets due to their durability and flexibility.
Q: Can I use different bead sizes for this project?
A: Yes, you can experiment with various bead sizes to create different visual effects in your Morse code bracelet.
Q: How long does it take to make a Morse code bracelet?
A: The time taken depends on the length of the message and your familiarity with bead stringing. On average, it might take approximately 30 minutes to an hour.